Deploying Remix to Cloudflare with SST
Learn how to deploy a Remix application to Cloudflare Workers using SST.
SST started as a framework to build and deploy infrastructure artifacts to AWS. It was originally written on top of AWS CDK, a provisioning tool for AWS based on AWS Cloud Formation.
In their latest release, they announced SST is switching to a new engine called Ion, replacing AWS CDK with two of the most popular Infrastructure as Code (IaC) tools — Terraform and Pulumi. With this change, SST has set the stage to support different cloud providers, with Cloudflare being a recent addition.
Cloudflare, who is quickly becoming an alternative to traditional cloud giants such as AWS, Azure, and Google Cloud, offers services like Workers for serverless computing, R2 for object storage, and D1 for SQL databases.
In this article, you will learn how to deploy one my favorite React frameworks, Remix. We will use SST to pack and deploy the code to Cloudflare Workers. Cloudflare has a generous free tier and all the steps here fall under the free plan.
Prerequisites
Before starting, you will need:
- A Cloudflare account. Create one at Cloudflare.com.
- The SST CLI installed. This article was written using version
0.0.355.
Create a Remix Application
Let’s start by creating a Remix app. The simplest way to do this is with the create-remix CLI:
npx create-remix@latest --template remix-run/remix/templates/cloudflareNotice that we are using a specific template for Cloudflare. That’s because Remix is set up by default to run on server environments using Node.js.
Cloudflare Workers are powered by a different runtime, called workerd. This runtime only implements a subset of Node.js APIs.
The Cloudflare Remix template looks very similar to the default Remix template, but it includes a few tweaks to make it compatible with Workers.
Initialize SST
In your project root, run:
sst initThis will create an sst.config.ts file in your project root. SST’s config file is a regular TypeScript file that contains all the instructions to deploy your application.
The `sst.config.ts` file
SST’s configuration file defines two steps app and run.
appis where you define your app configuration, including provider-specific settings. This is evaluated when your application loads.runis where you define all the resources needed to run your application. Both SST and Pulumi components can be used here.
Read more about SST’s config file here.
By default, SST comes with the AWS provider installed and configured. You will need to manually install the Cloudflare provider:
sst add cloudflareUpdate your SST configuration
Remove the AWS-specific code in your sst.config.ts and replace it with the following:
export default $config({
  app(input) {
    return {
      name: 'remix-cloudflare',
      home: 'cloudflare',
    }
  },

  async run() {
    new sst.cloudflare.Remix('my-app')
  },
})
The above is a minimal configuration for deploying a Remix app.
The app function returns an object with the application name and the provider where it’s going to be deployed. In this case, Cloudflare.
Because we set Cloudflare as our home provider, SST will store the state of our app in Cloudflare (in an R2 bucket, to be more specific).
In the run function, we create a new instance of sst.cloudflare.Remix. This is a custom resource that deploys a Remix app to Cloudflare Workers. If your application needs additional resources, they can also be added inside run.
Set up Cloudflare credentials
Create a .env file in the root of your project and add your credentials:
CLOUDFLARE_DEFAULT_ACCOUNT_ID=<cf-account-id>
CLOUDFLARE_API_TOKEN=<cf-api-token>
To get an Account ID, go to Workers and Pages -> Overview and look for the “Account ID” field on the right.
For an API Token, you can visit the User API Tokens page and create a new one. To speed things up, you can use the “Edit Cloudflare Workers” template.
Deploying your app
Run the following command to deploy your app:
sst deployThis is going to build your application and deploy it to Cloudflare Workers.
While deploying from your machine is convenient, you will want to set up a CI/CD workflow with tools such as GitHub Actions to automate the deployment process.
Once the deployment is complete, you will see your application in the Workers & Pages dashboard:
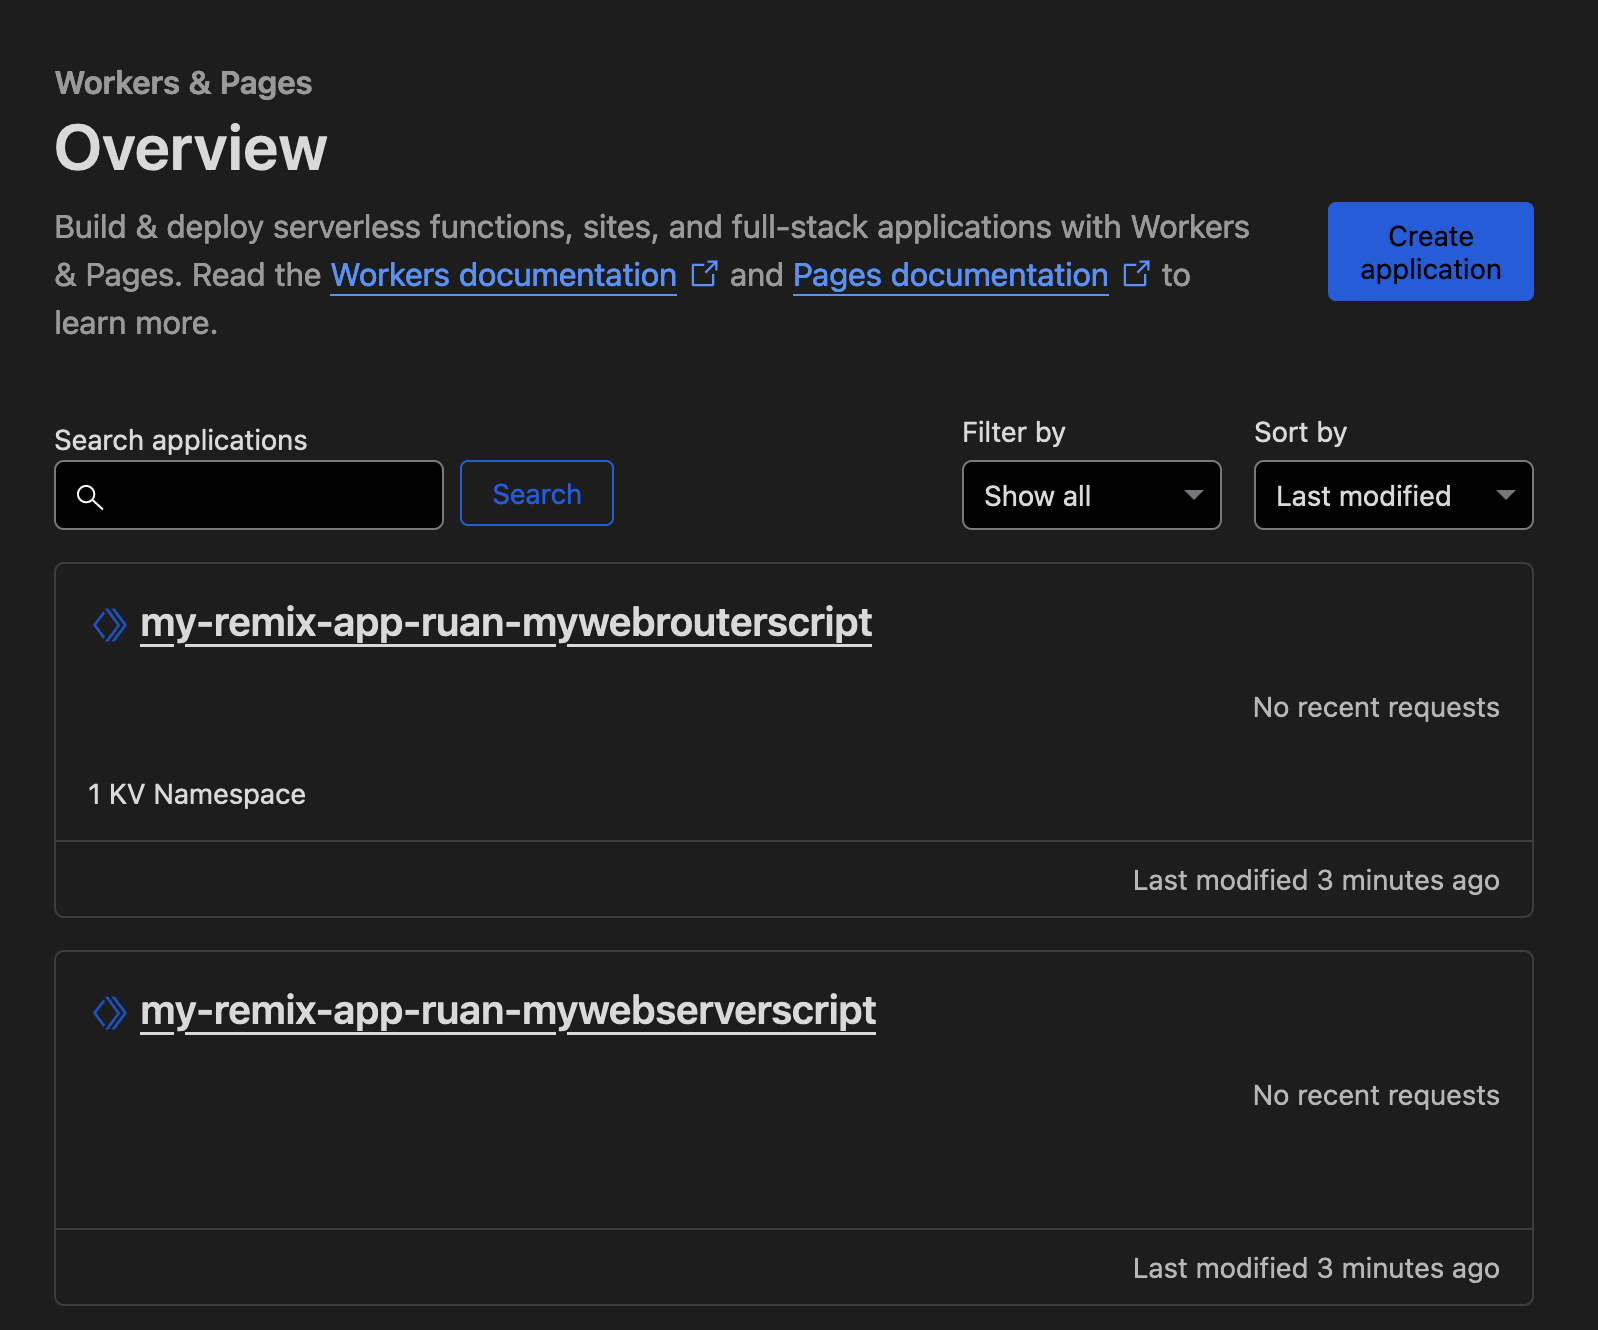
To access your app, click on the “Web Router” worker and head to the “Deployments” tab. There you will find a link to the latest active deployment.
Cleaning up
To remove the resources created by SST, run:
sst removeThis will remove any resources defined your sst.config.ts file.
Going further
Linking additional services
Unless you are building a simple static page, chances are you will need services such as a database, object storage, or even a CDN (Content Delivery Network).
Luckily, Cloudflare has all of these availabe and adding them via SST is a straightforward process.
For example, here’s how you can link an R2 bucket to your Remix application:
export default $config({
  app(input) { /* ... */ },
  async run() {
    const bucket = new sst.cloudflare.Bucket('my-bucket')

    new sst.cloudflare.Remix('my-app', {
      link: [bucket]
    })
  },
})
Deploying to multiple environments
You can deploy your application to different environments using the global stage flag in SST:
sst deploy --stage=production

sst remove --stage=my-pull-request-123